Sourdough Crackers (Cotswold & Other Variations)

My good friend, Rafi, of Hilltown Hot Pies, spends his days working with sourdough, and his nights dreaming about it. Although I think he’s a master pizzaiolo, with sourdough – which is what he likes to use for his crusts – Rafi says, one is always learning.
Last summer, with a portable propane-fired pizza oven, Rafi ran a pizza pop-up at the Dream Away Lodge in Becket, MA. We spent many warm evenings at the picnic tables out back, under the stars, filling ourselves with way too much pizza because we couldn’t choose from Rafi’s creative toppings, fresh from local farms and producers in the area.
After the season ended, Rafi headed out west to cater pop-ups and private events with his portable pizza oven as he continued to study sourdough and pizza making. Of course, for the time being, those endeavors are on hold. But Rafi, through Hilltown Hot Pies, has turned to Instagram live to share lessons and tips on working with sourdough.
Rafi and I have had a lot of conversations about his use of sourdough for his crust, and also about sourdough bread, and he has bemoaned the fact that he ends up discarding quite a bit of starter. So for Rafi, at his request, here is my recipe for sourdough crackers, which uses unfed (i.e., discarded) starter.
(For the record, my sourdough bread is not as good as Rafi’s! I am a lazy sourdough baker, in no small part because I am also working a full-time job and cannot devote my full attention to my sourdough. Perhaps in a future post I will share my “cheater’s” sourdough.)
NB: For most of my baking I measure by weight, not by volume. If you plan to bake a lot, you probably will want to invest in a scale. There are many good ones that aren’t too expensive. If you don’t have a scale, the chart I use for conversions can be found here.
What follows is my son Wilson’s favorite flavor, based on one of his favorite cheeses, Cotswold, which is a cheddar with chives. I also offer other cracker flavors that we’ve enjoyed.
Wilson’s Favorite Sourdough Crackers
8½ ounces unfed (discarded) sourdough starter
4 ounces all-purpose flour
2 ounces unsalted butter (½ stick), room temperature
1 ounce Cheddar cheese powder
2 Tablespoons dried chives
½ teaspoon sea salt
¼ cup olive oil, or more as needed, to brush on the dough
1½ teaspoons coarse salt, or more as needed, to sprinkle on the dough
Using the paddle attachment on a stand mixer, combine starter, flour, butter, cheese powder, chives, and salt. Mix on medium-low speed until a cohesive dough forms.
Divide the dough in half, wrap each piece in plastic wrap, and put in the refrigerator for at least an hour or even as long as overnight. I go so far as to weight the dough and divide it evenly because that makes it easier for me when I’m trying to get the right thinness when I roll out the dough.
Preheat the oven to 375°F. I have a convection feature on my oven which helps them crisp faster, but if you don’t have it, they will still be great.
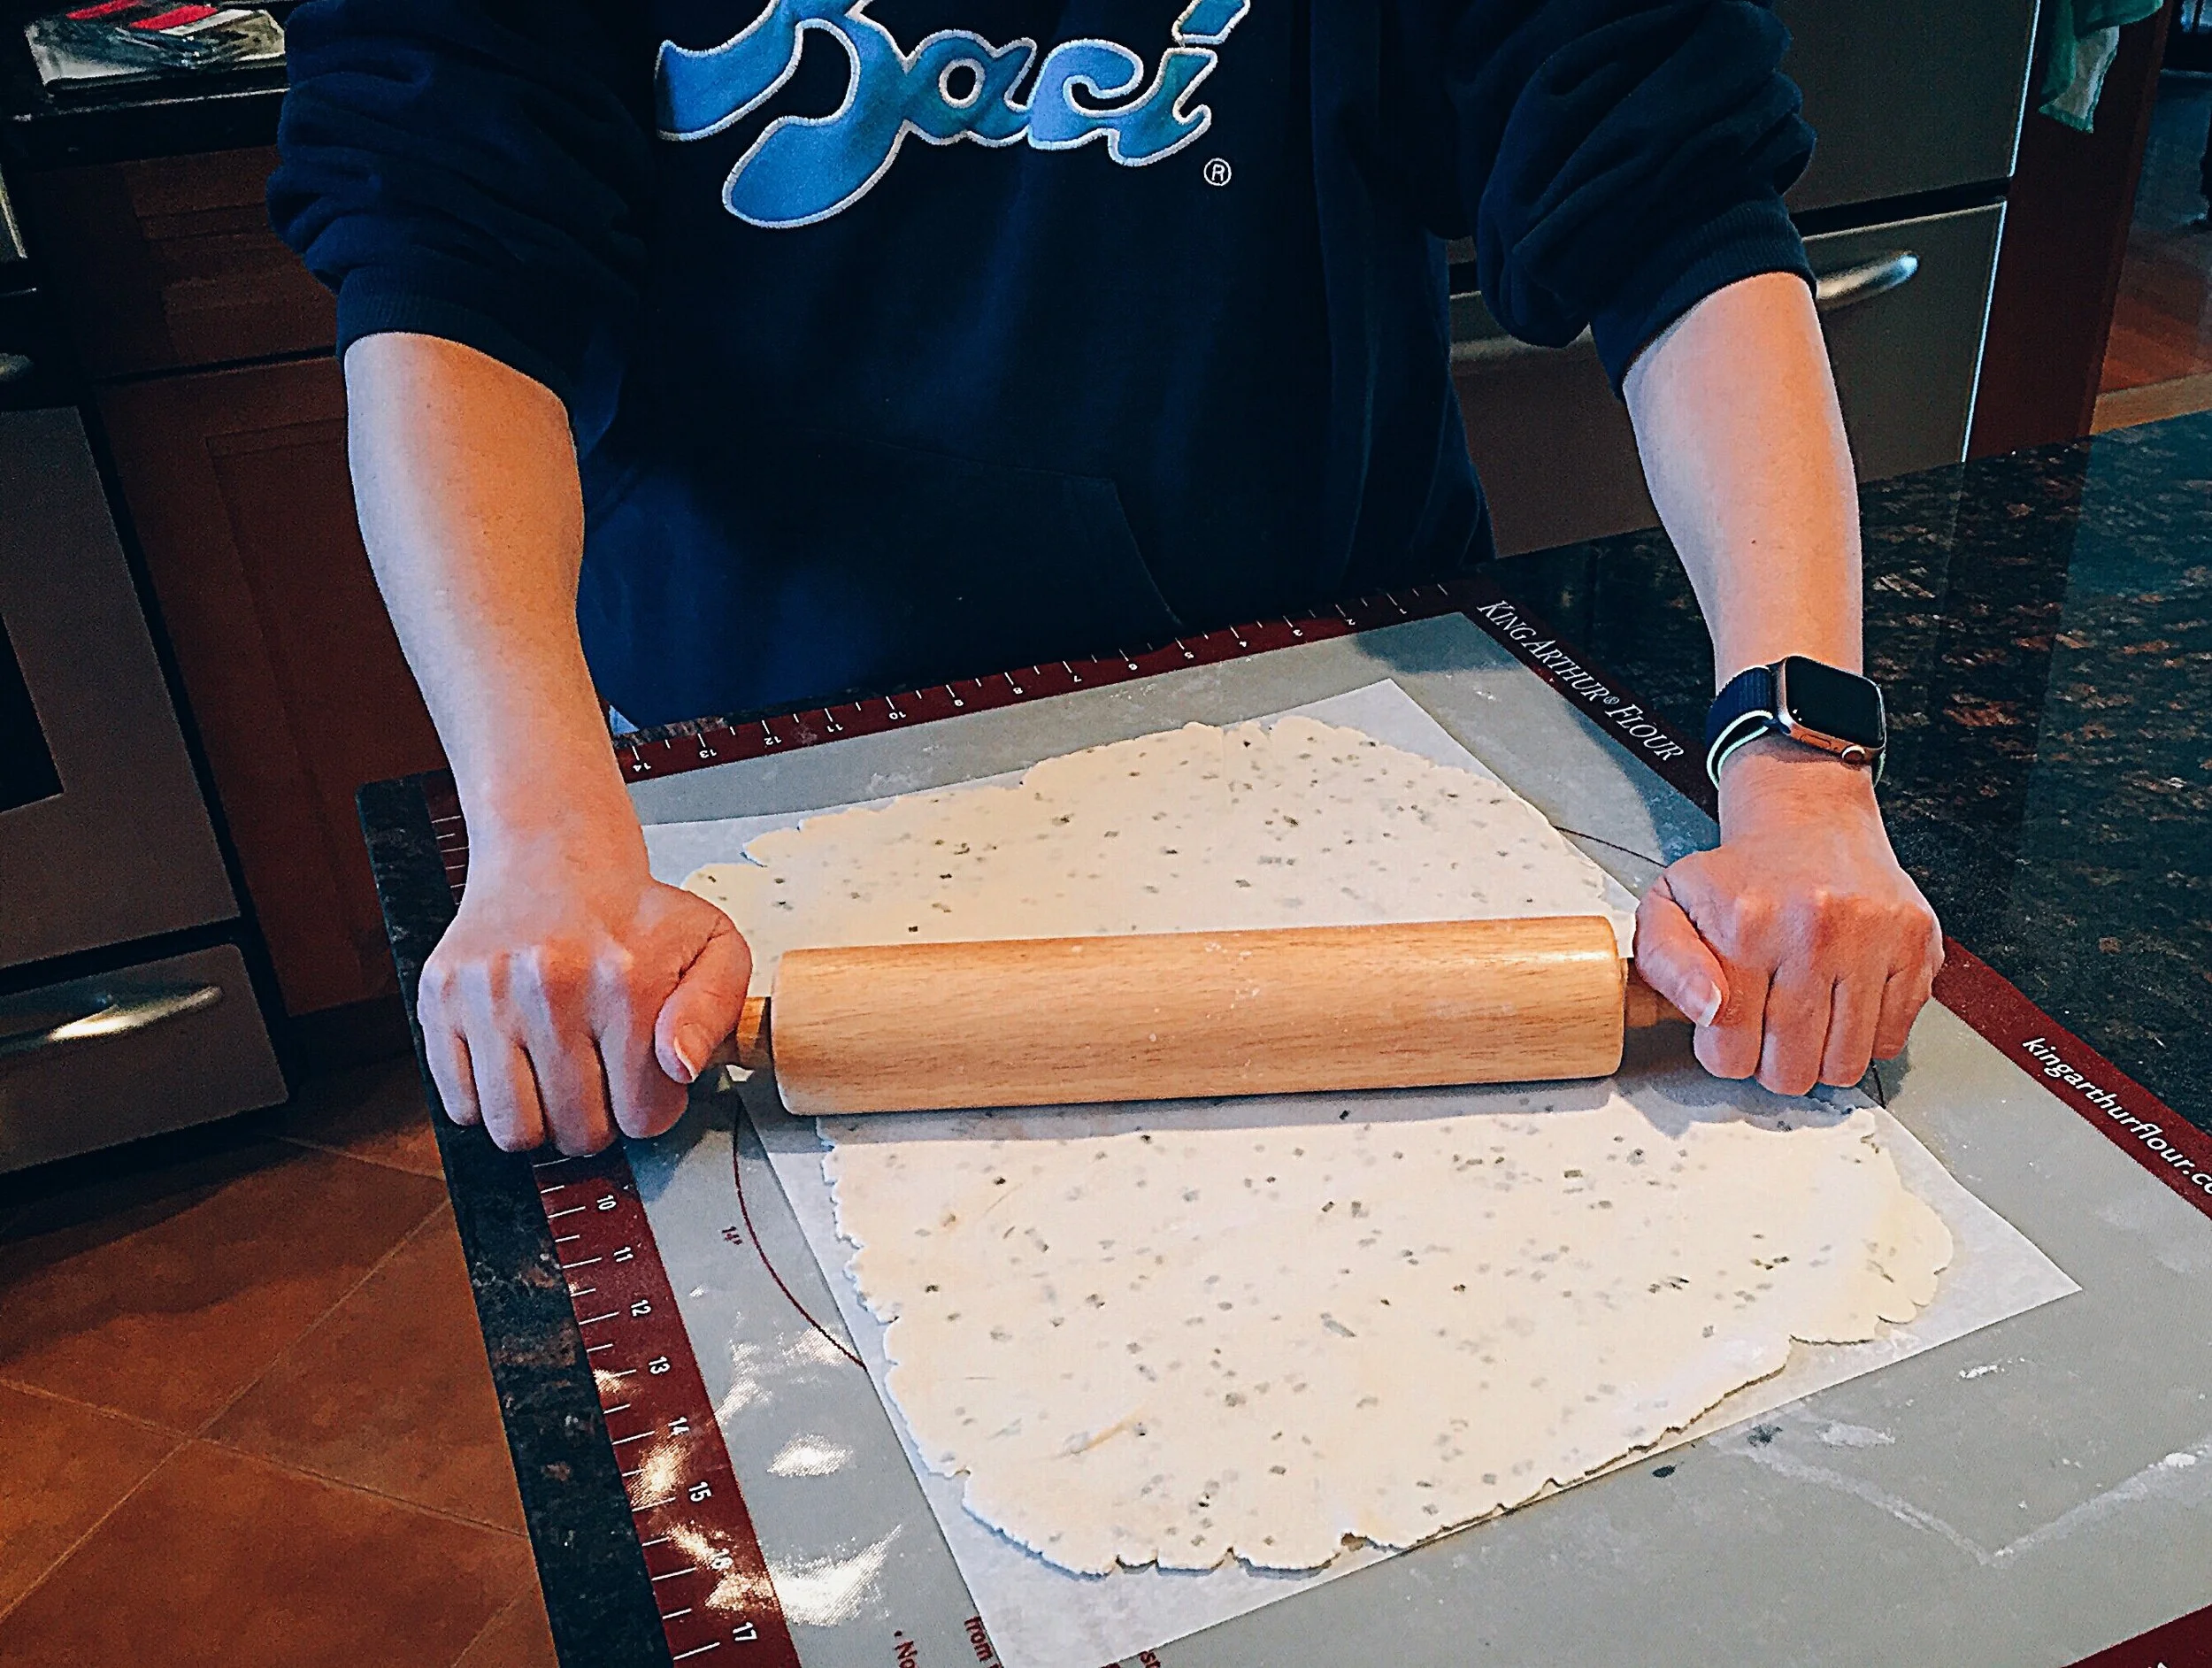
Here’s the trick that works for me: Place a nonslip dough rolling mat on the counter and place a piece of half-sheet parchment paper on top. This will allow you to roll out the dough on the parchment paper without it slipping on the counter. Lightly dust the parchment paper with flour, take one piece of dough from the refrigerator and place it on the parchment. Lightly dust the top of the dough and the rolling pin as well.
Roll out the dough, turning and flipping it, and dusting with additional flour if necessary, until it pretty much covers the whole half-sheet of parchment (see photo). From making these crackers many times, I have learned that half the dough rolled out to this size results in a fairly uniform thinness that you want. It’s fine if the edges are ragged. Those are the pieces everyone tries to snag as soon as they come out of the oven. Slide the parchment with the dough onto a half sheet pan. Repeat with the second piece of dough. (If you only have one half sheet pan, leave the other piece of dough in the refrigerator until the first batch is done.)
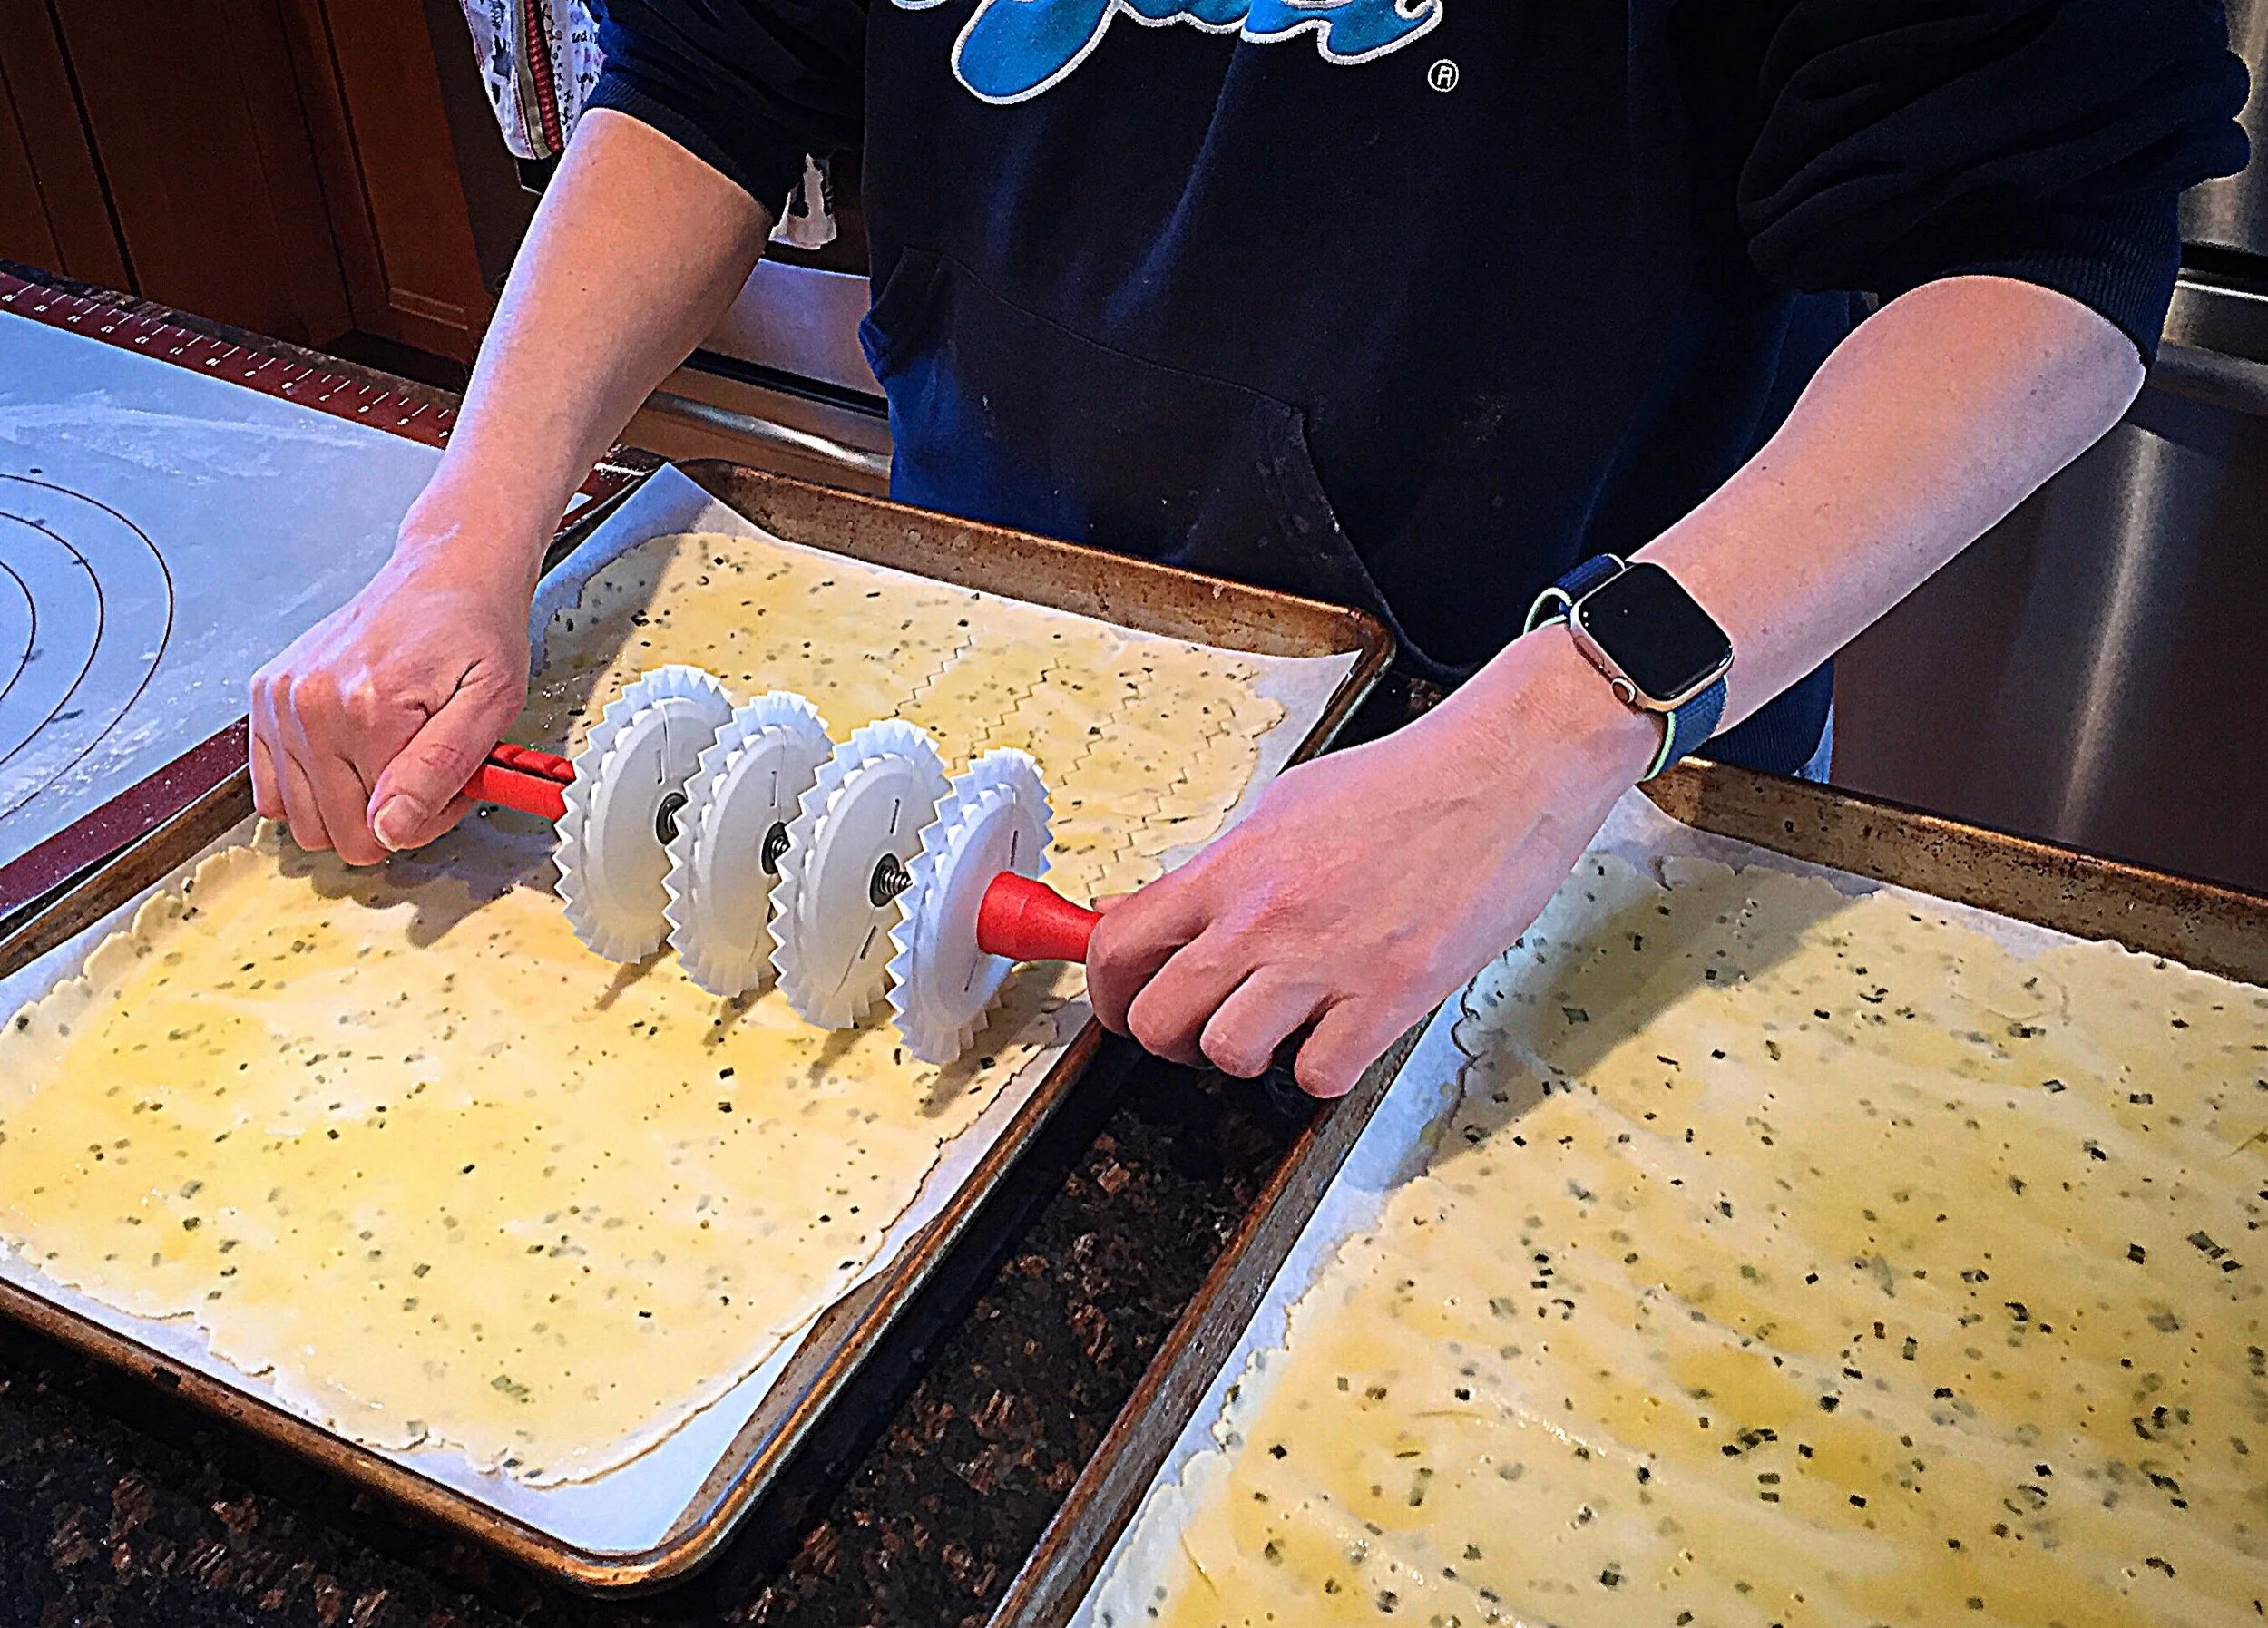
Brush the sheets of dough with the olive oil. Take the salt in pinches and, holding your hand high above, sprinkle the salt over the dough. Use a fork with small tines to prick the dough all over. I usually just do this in rows across. Cut the dough into squares of desired size. You can use a pizza wheel, or I have a gadget I can adjust to various sizes and also has both straight and sawtooth edge cutters (see photo, and this product can be found here). Sprinkle the coarse salt evenly over the crackers.
Cook the crackers for 20-25 minutes until dark golden brown. If you have a convection oven, they may be ready towards the shorter amount of time. Depending on your oven, you may need to cook them a few minutes more. Check them after 10 minutes as you may need to turn the sheets or switch their positions in the oven. If some crackers are less dark that others, it’s fine; you just want to be sure they’re going to be nice and crispy but not burnt.
Remove the crackers from the oven. Very carefully so as not to burn yourself, slide the parchment with the crackers onto cooling racks. Allow to cool fully, and break apart any that stuck together.
Variations:
Rosemary – Omit cheese powder and chives; Add 2 Tablespoons chopped rosemary to dough; brush w/rosemary olive oil
Rye – Omit cheese powder and chives; Replace AP flour with light rye flour; add 2 Tablespoons sesame seeds
Za’atar – Omit cheese powder and chives; Add 2-3 Tablespoons za’atar to the dough
Pretzel (this version is a lot more work and a bit of a hassle, but good!) – Omit cheese powder and chives; Brush dough with a solution of 1½ t baking soda & ½ c boiling water. Let sit 2 minutes, flip the dough, and brush the other side; brush with egg wash; sprinkle with pretzel salt